Beat Hazard - Full Details Here
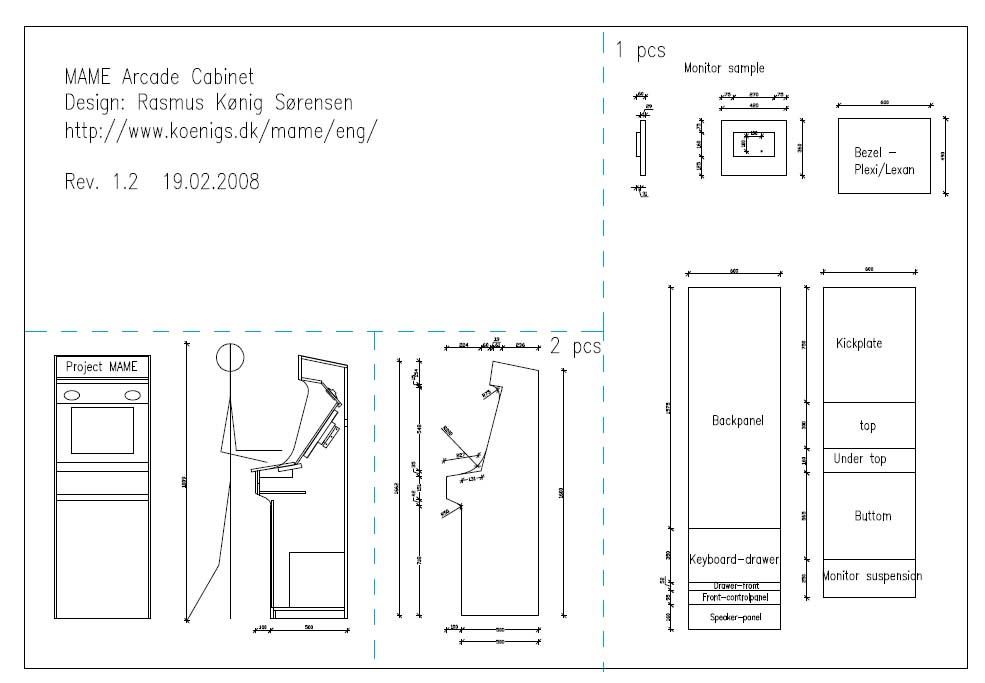
I've wanted to build a cabinet for years, but never really got round to it. Last October I took to plunge after browsing online arcade sites and being inspired by other peoples efforts.
So here's my blow by blow cabinet construction blog, I hope you enjoy it. Feel free to contact me with questions if you're building your own.
So, here we go...
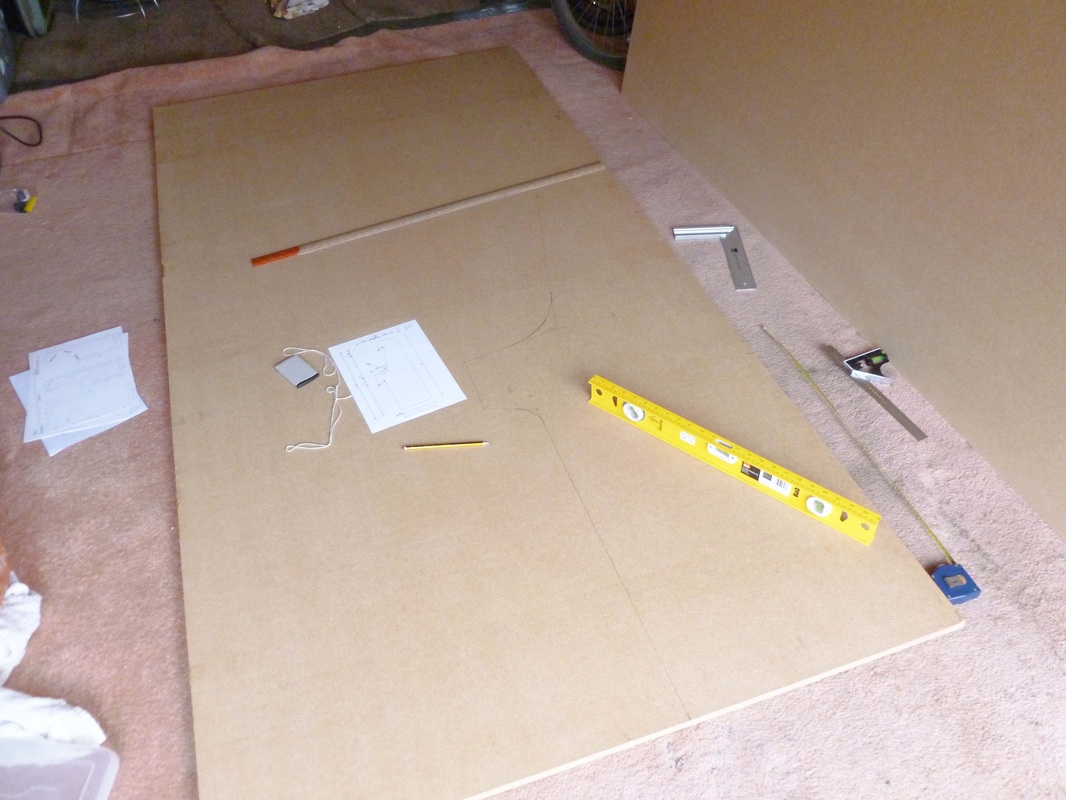
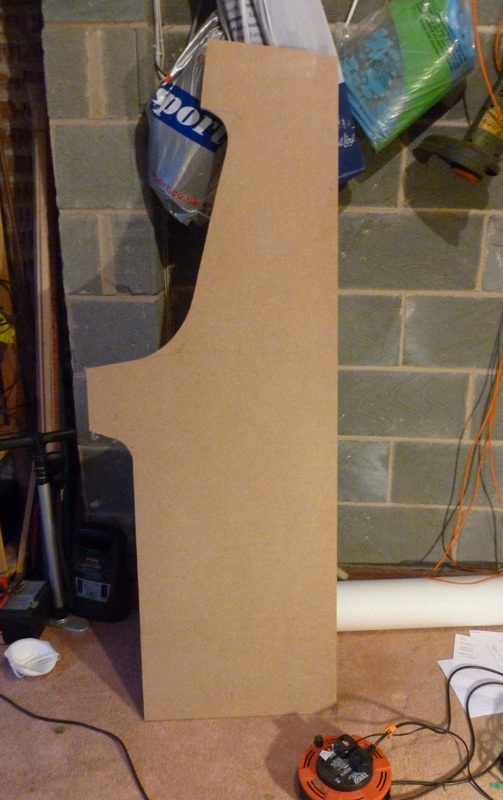
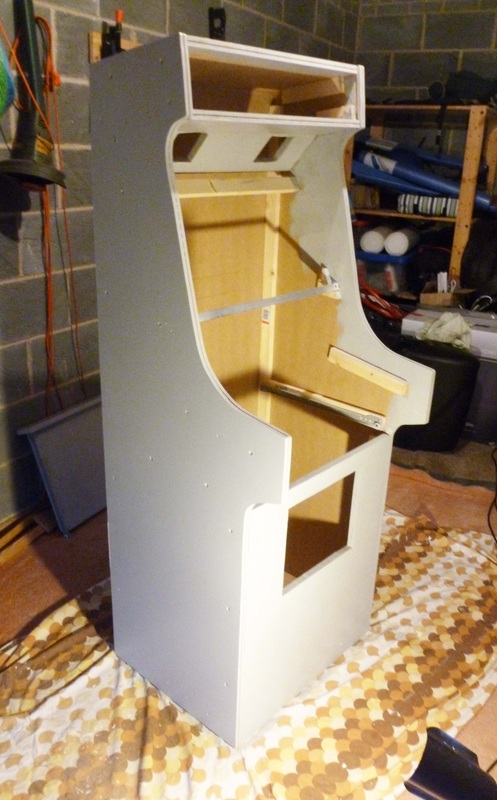
Jigsaws are surprisingly hard to control. You need a steady hand and lots of patience to get a good cut.
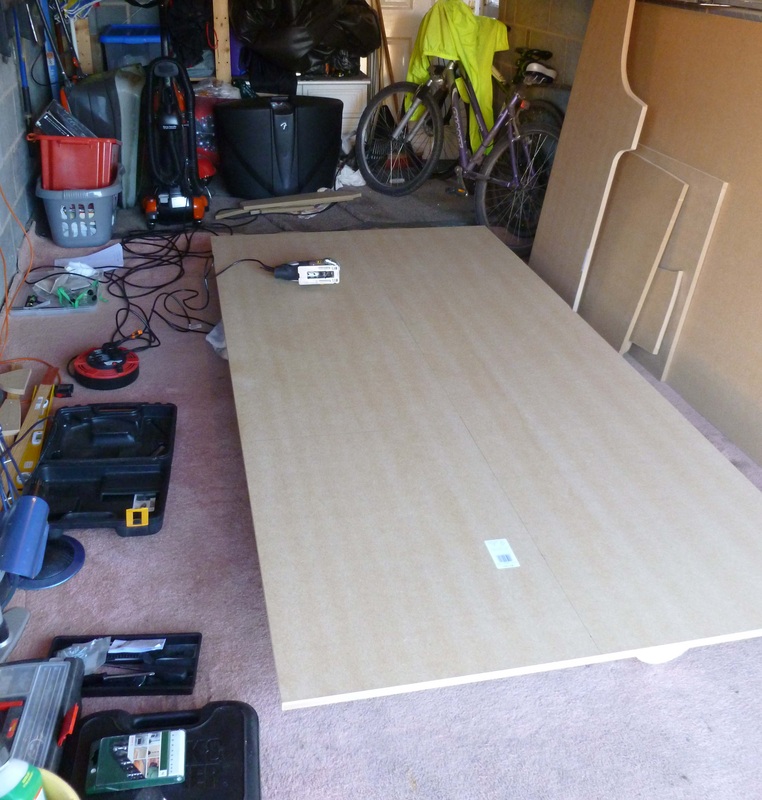
It's also a good idea to have a vacuum clearer handy!
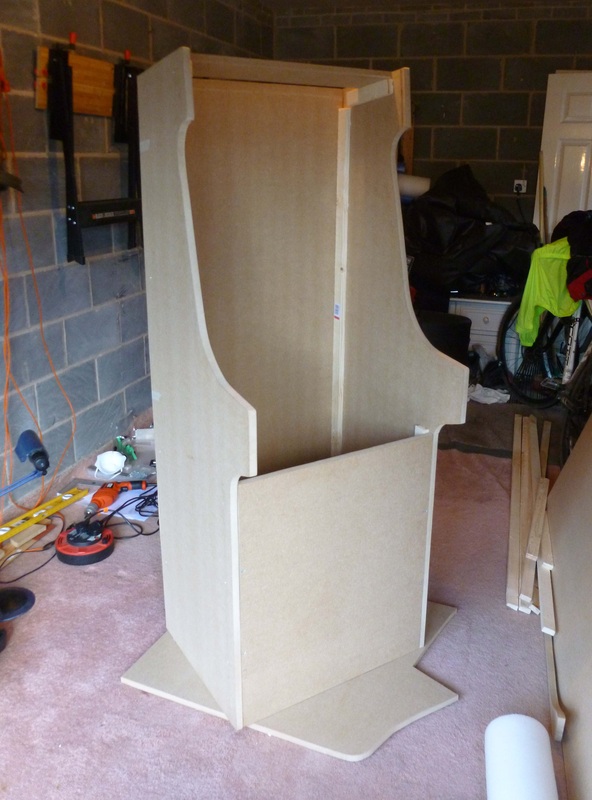
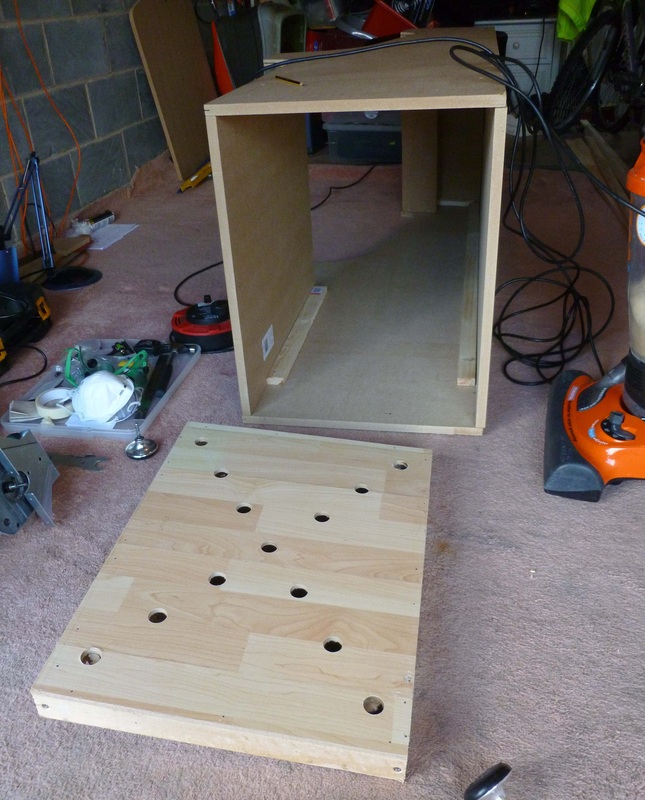
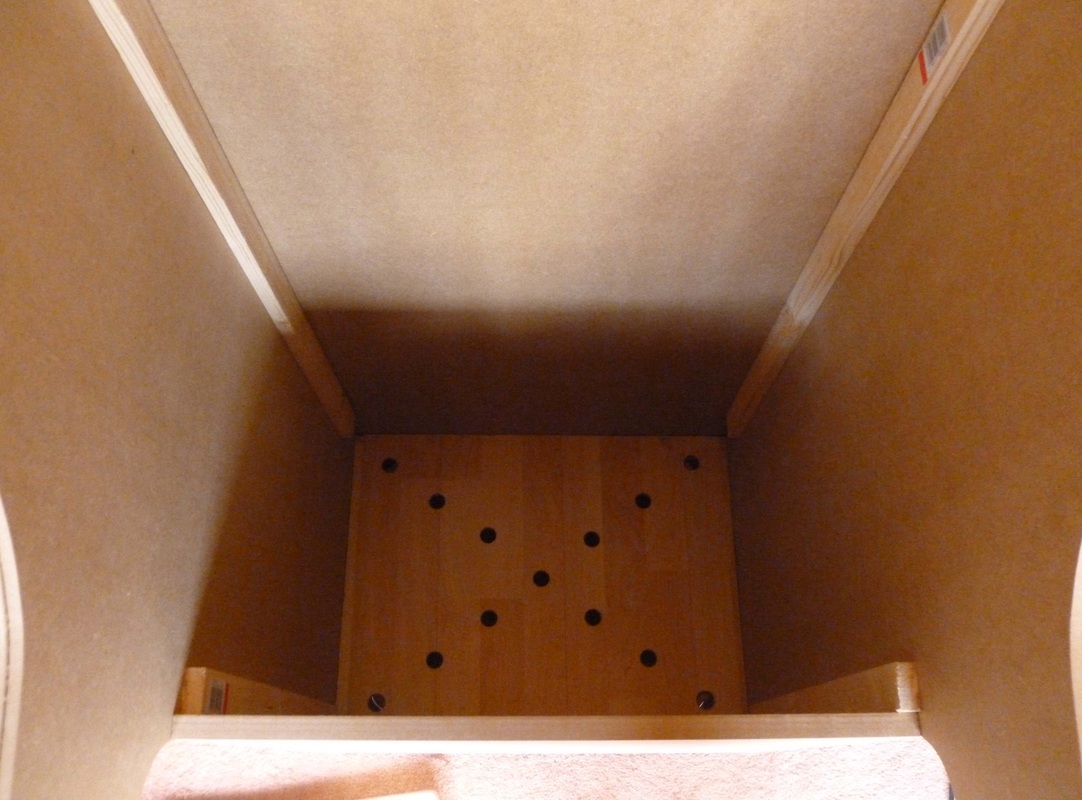
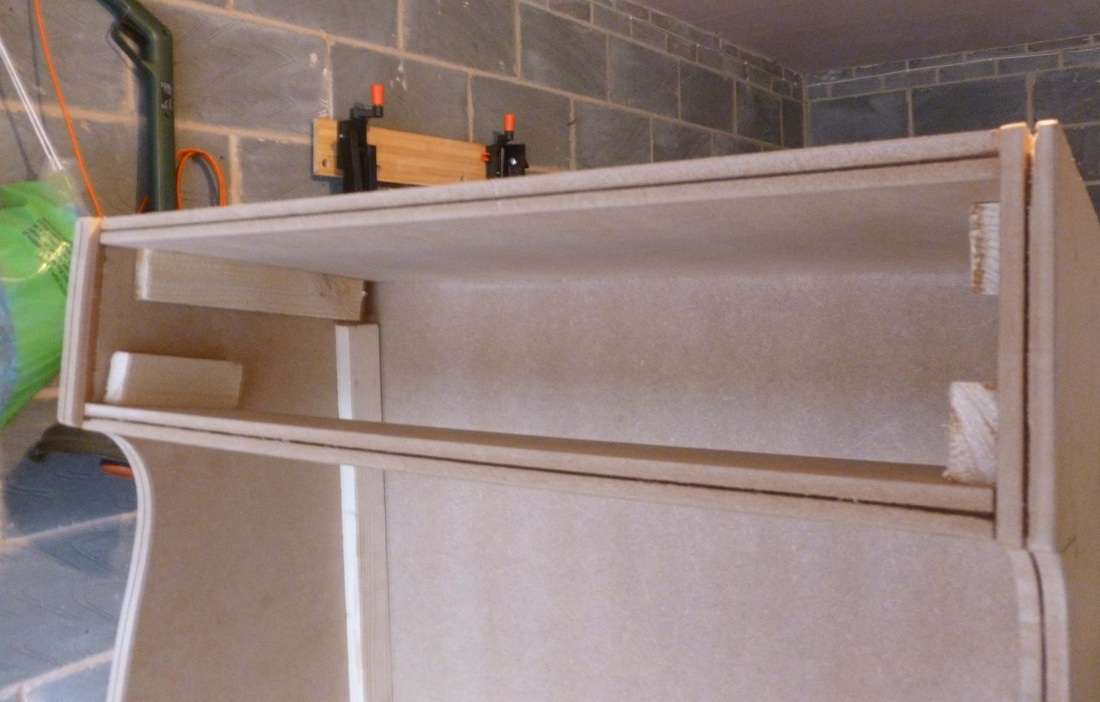
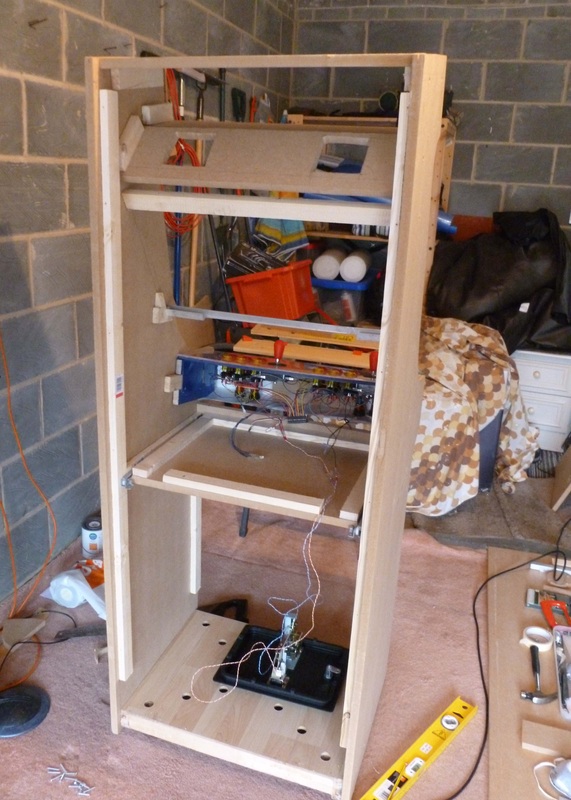
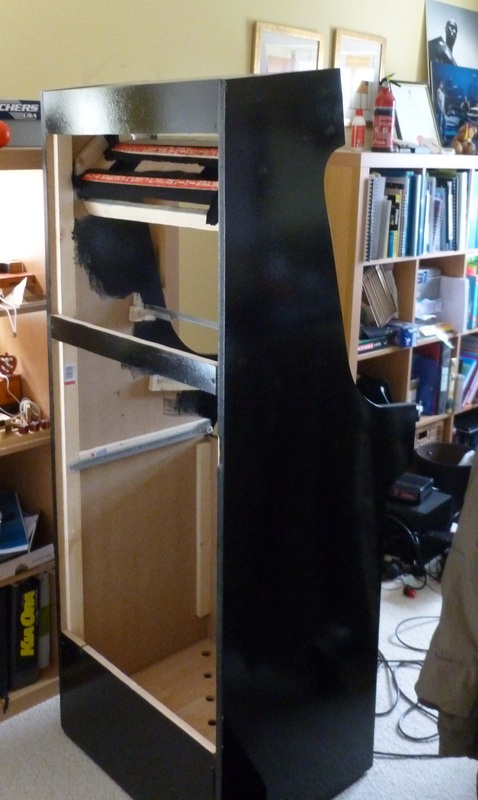
Adding the base makes the whole thing more sturdy and solid.
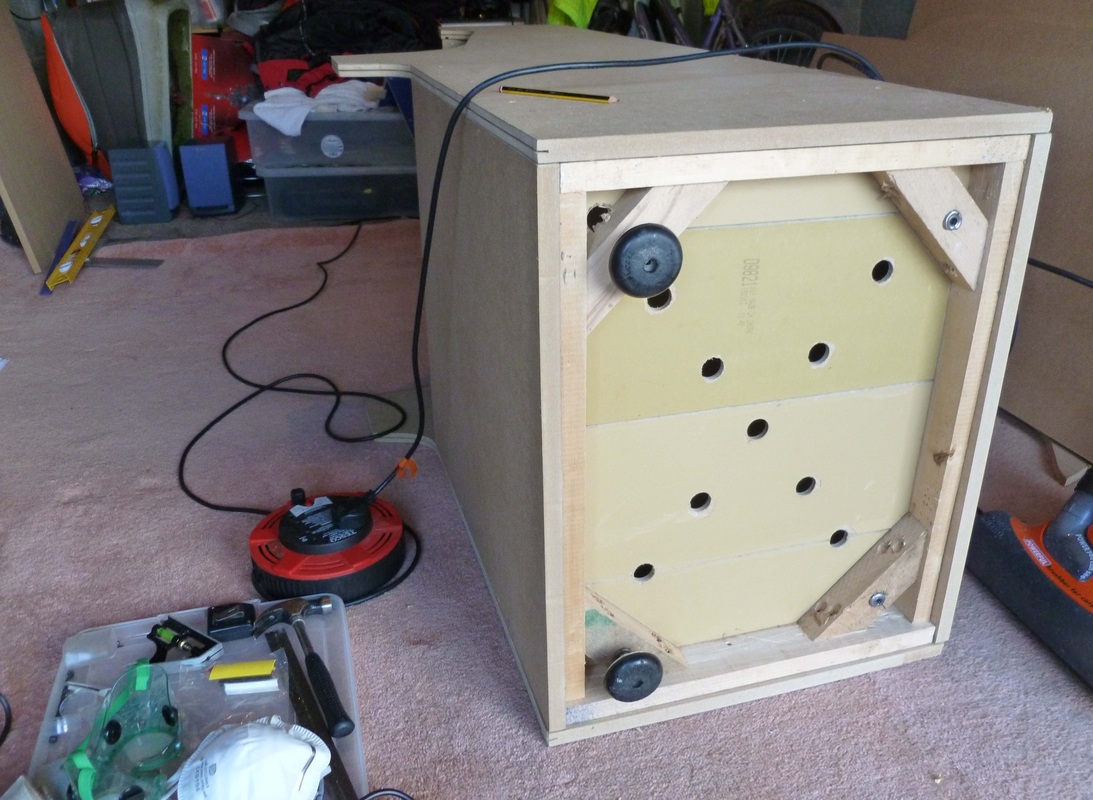
I didn't bother with wheels. These are pads from the bottom of a sofa.
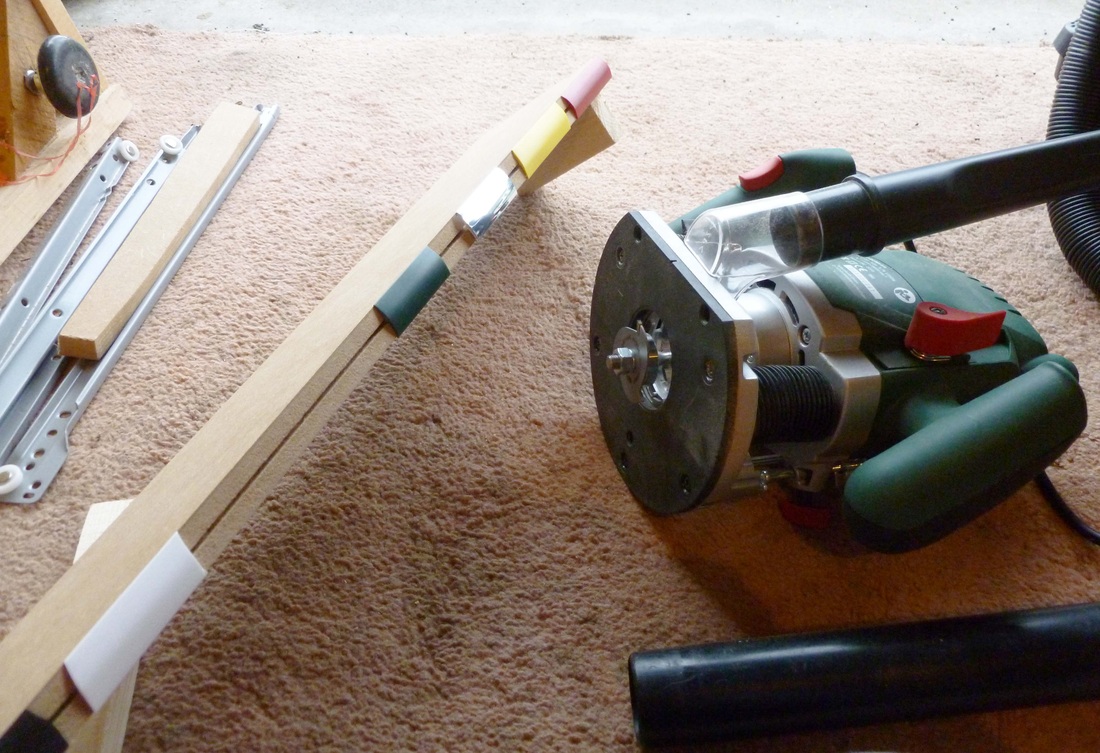
After a lot of searching I found a site here in the UK ( http://www.routercutter.co.uk/ ).
To cut the correct slot for standard arcade T-moulding you need:
- 6702A Slot cutter (Diam 47.63mm Kerf 2.03mm)
- B25 Bearing (Outer Diam 28.58mm, Inner Diam 7.94)
- A200B Arbor (Shank 6.35mm)
So you can see in the picture the slot and the T-moulding sitting just right.
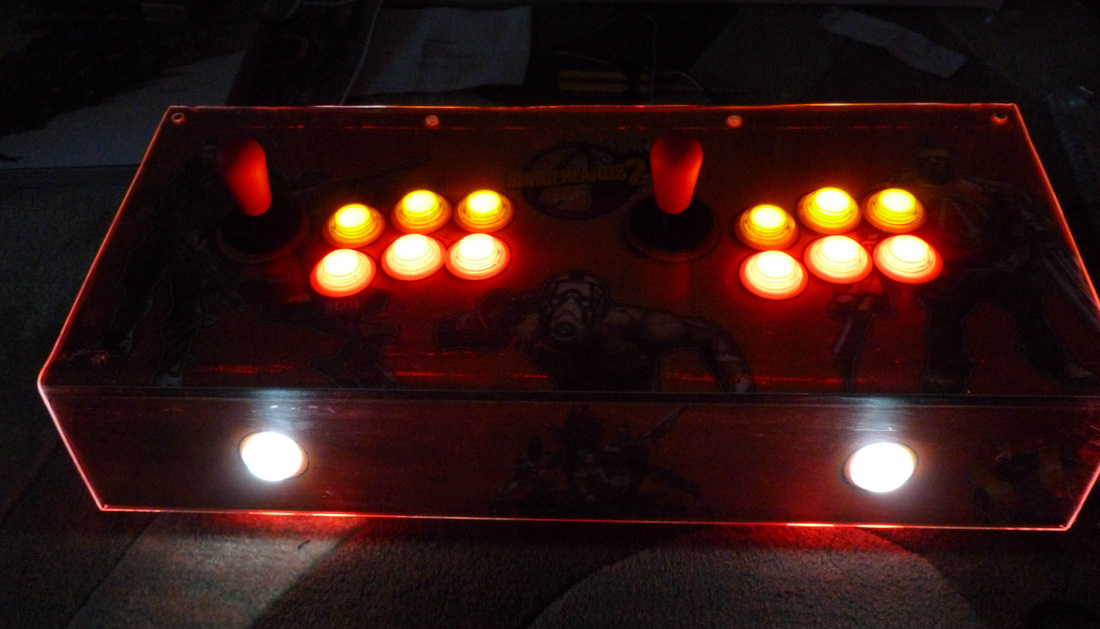
- 20x led buttons with relays (6 yellow, 2 white start buttons, 12 red)
- 2x 8-way joysticks from Arcade World
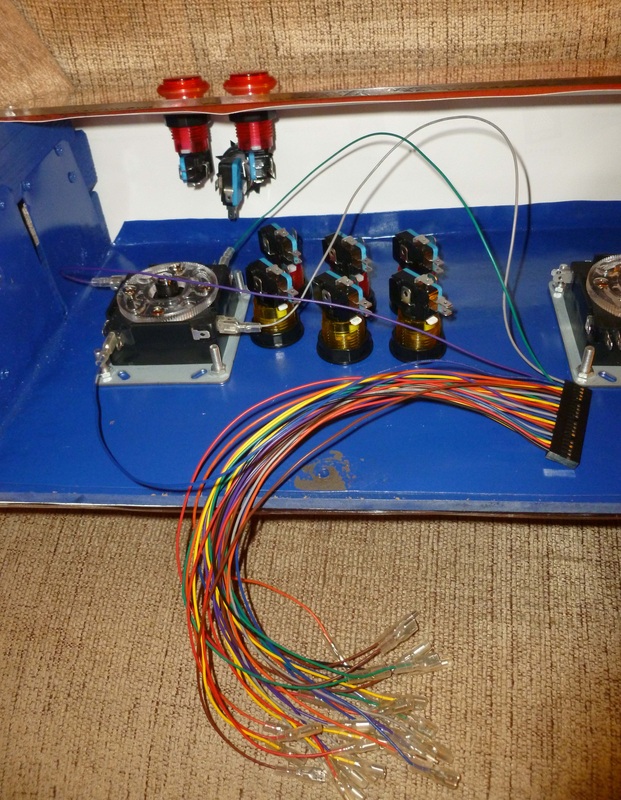
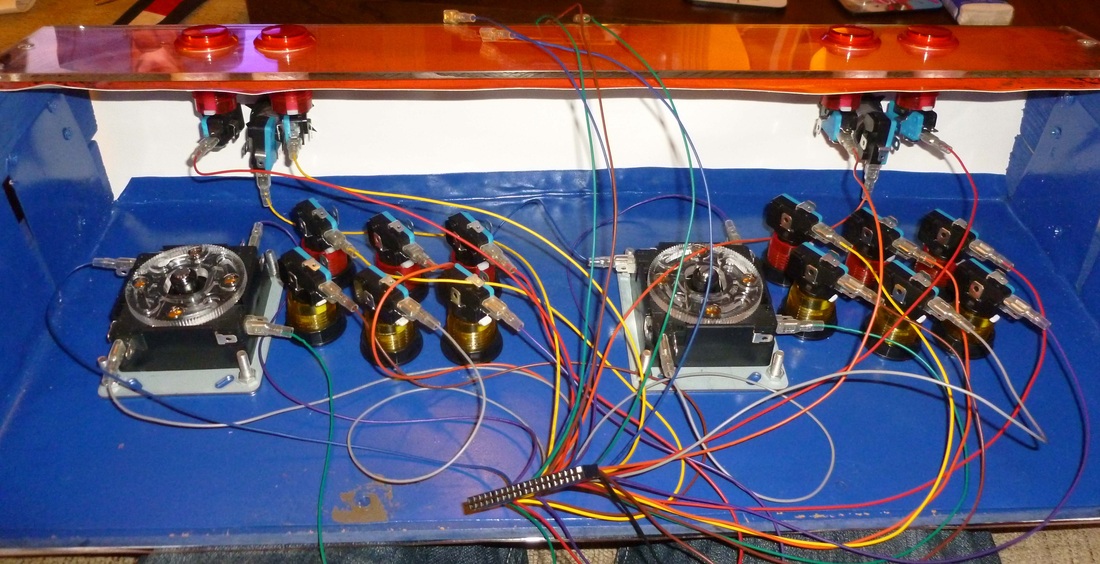
- 1 Min PAC Keyboard Encoder with wiring kit
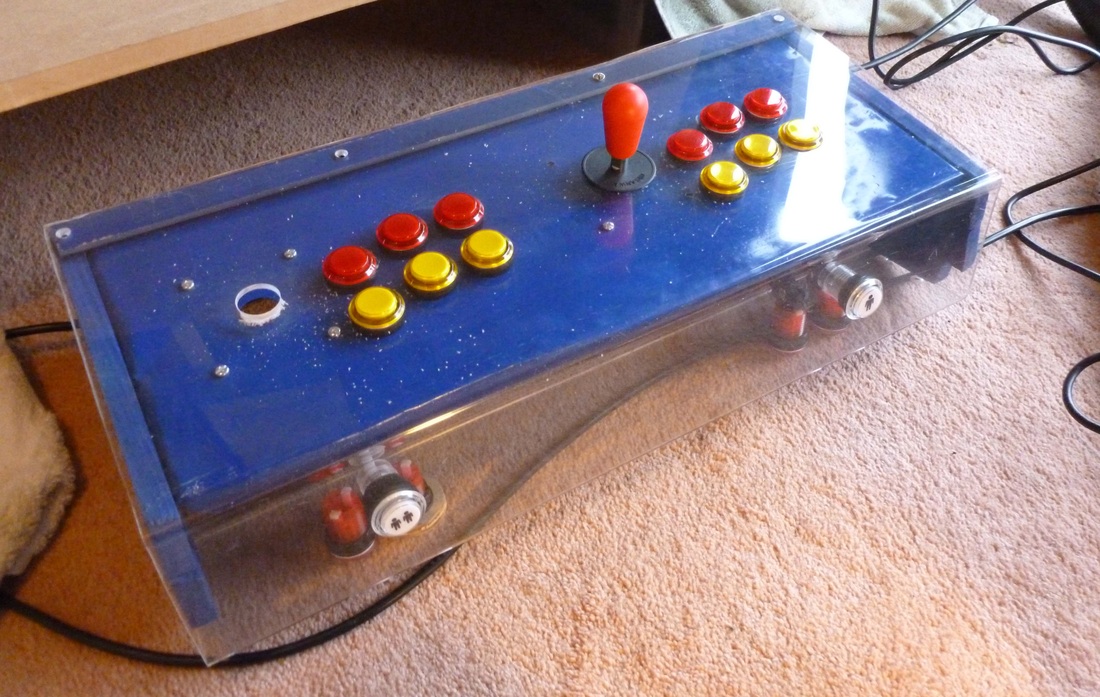
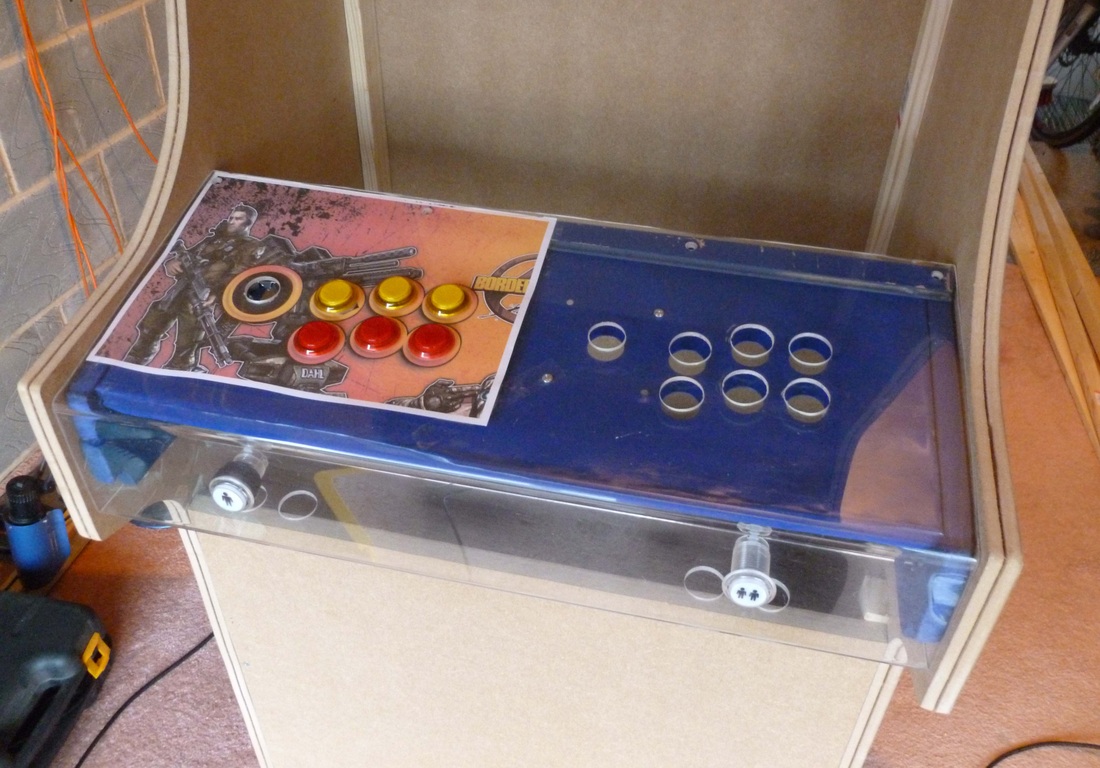
My Dad had some spare plexi-glass shelving, so he made the main parts of the control panel as another Christmas present! How cool!
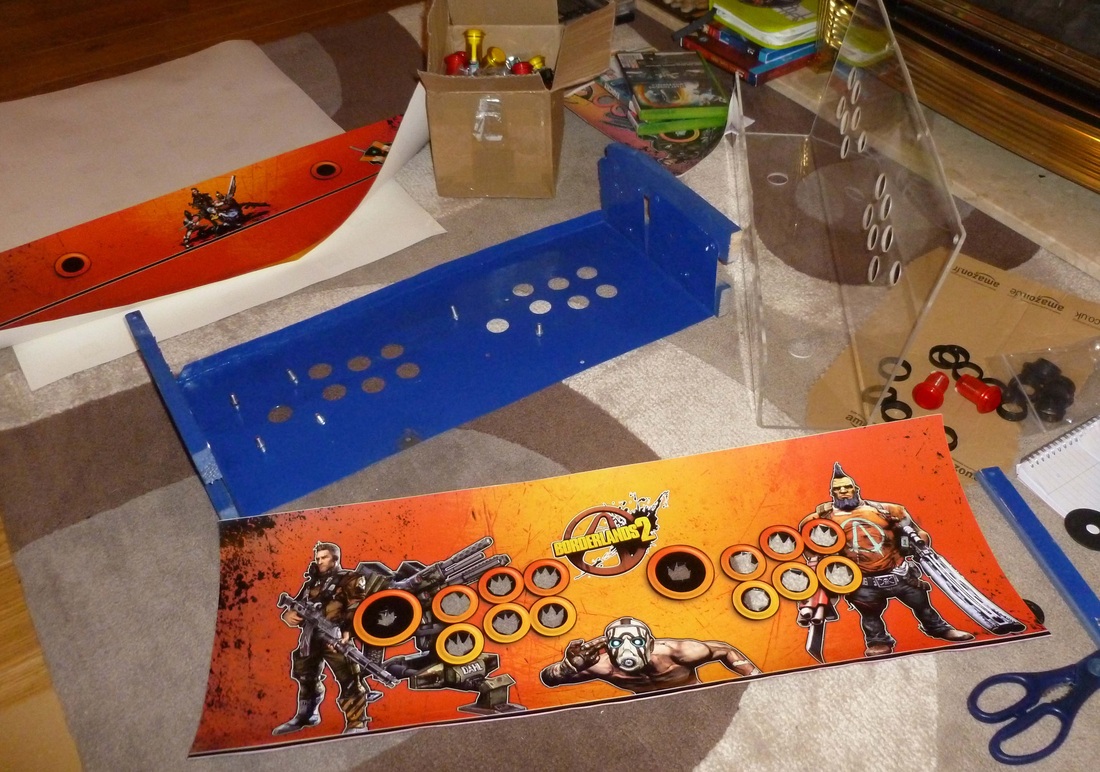
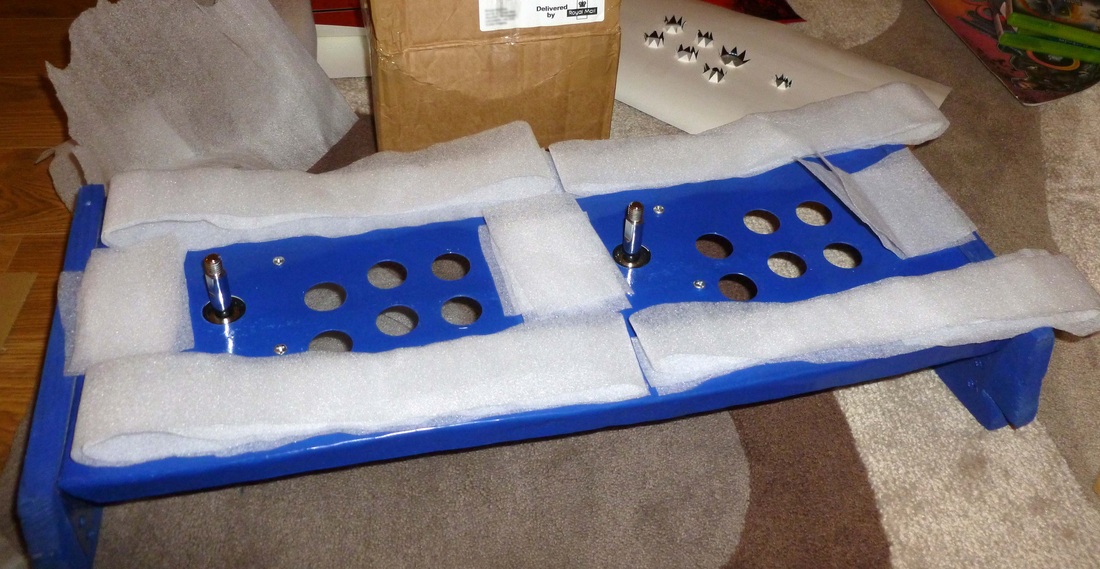
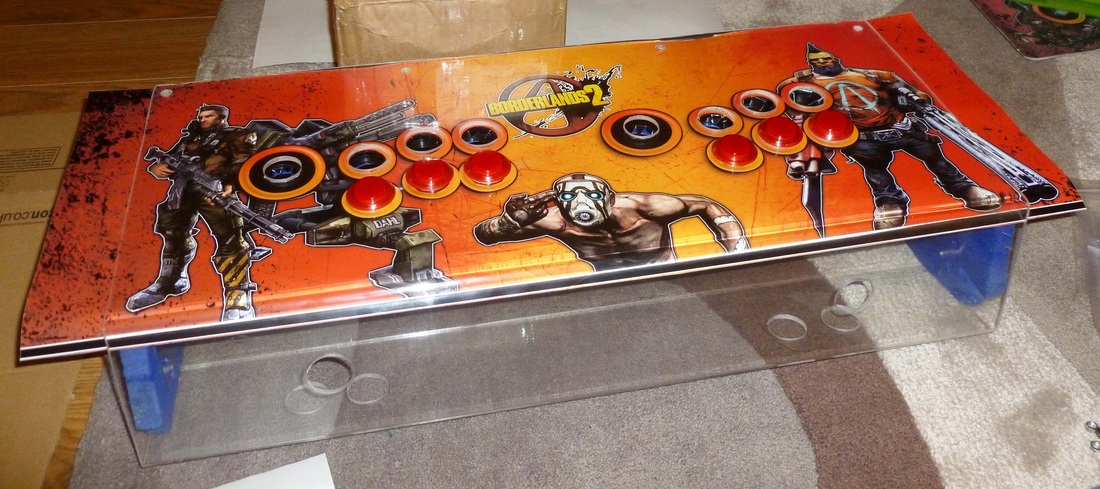
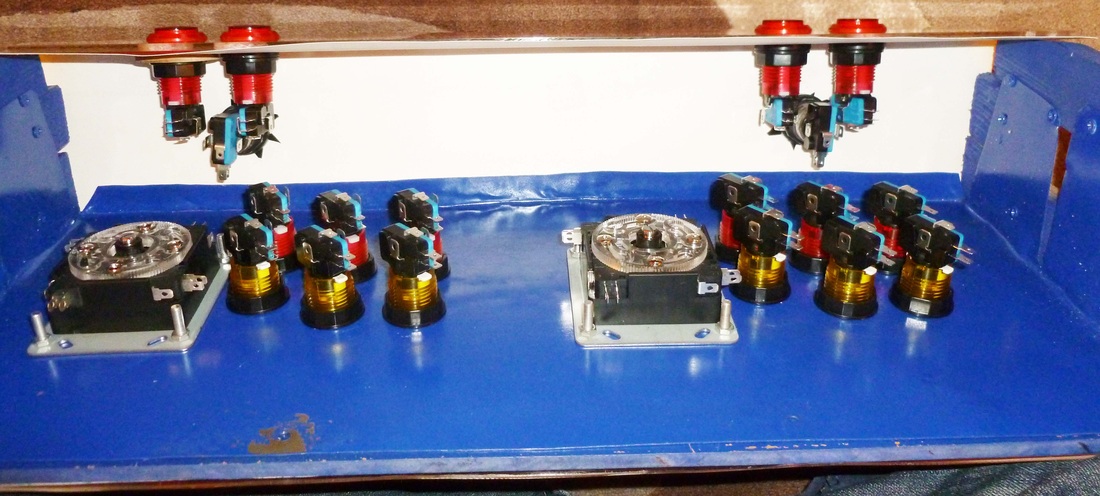
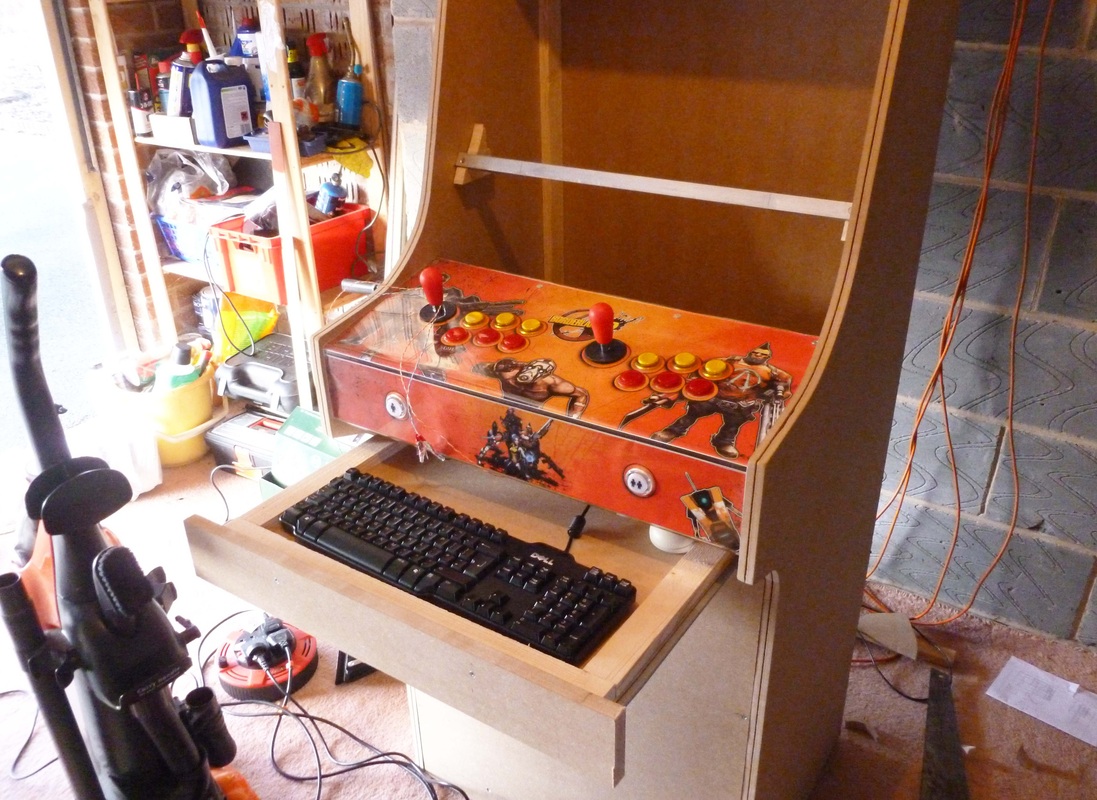
You can see the plexi-glass surround with a metal base underneath. The joysticks are mounted on the metal under the plexi-glass so when the artwork is in place you can't see the screws.
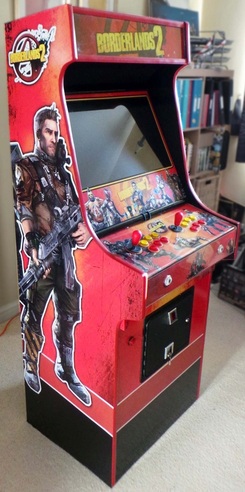
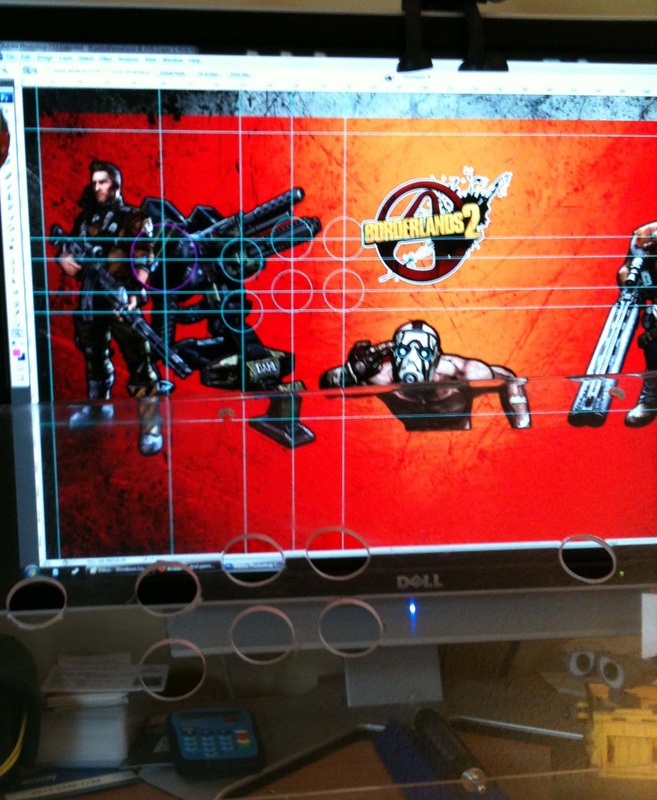
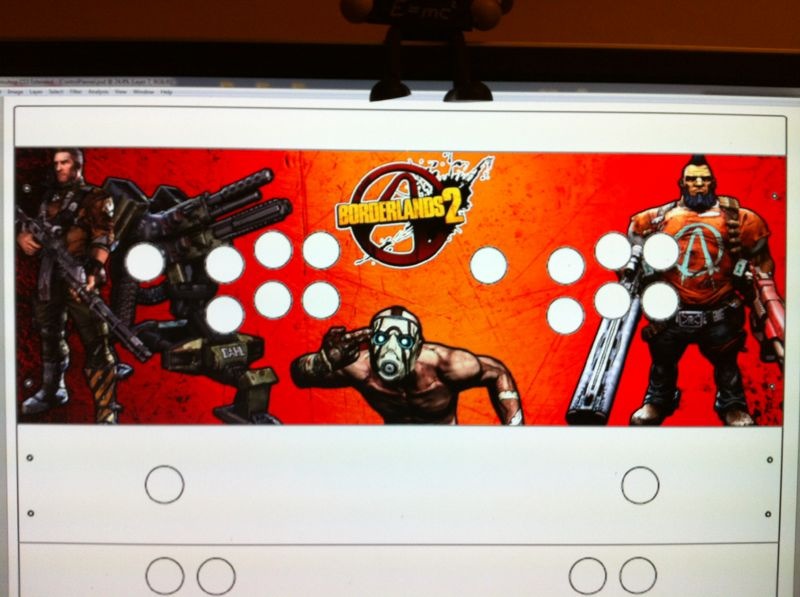
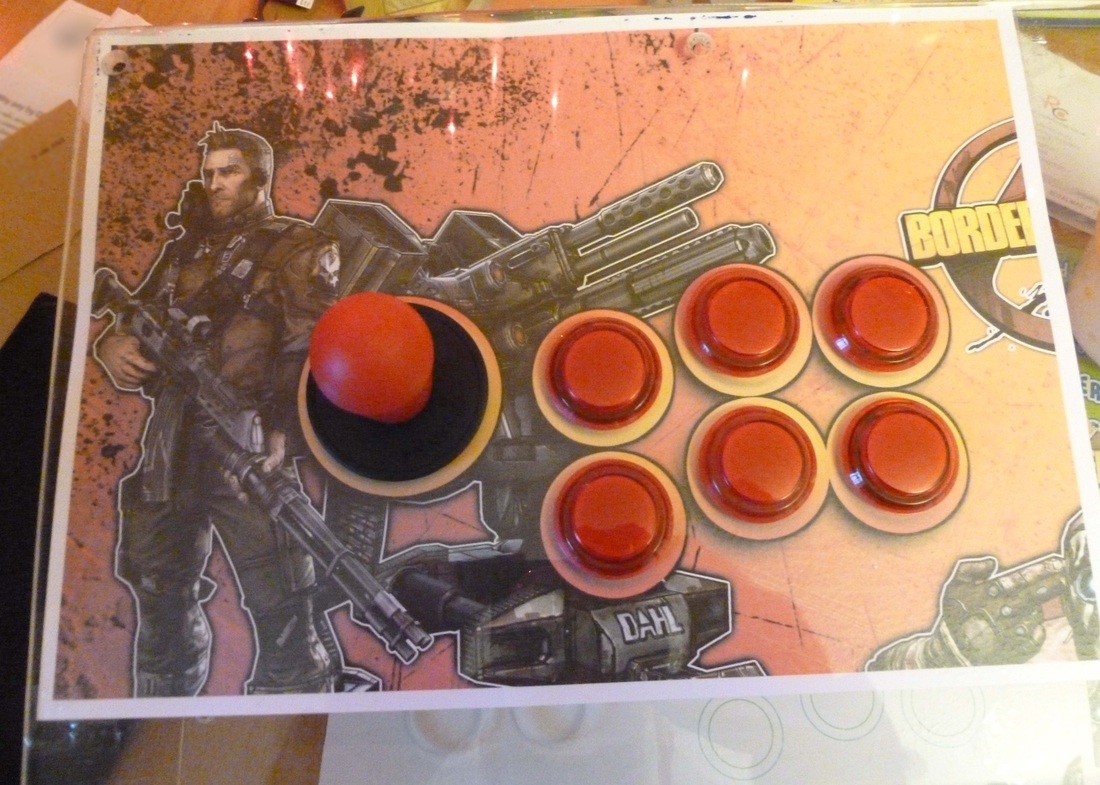
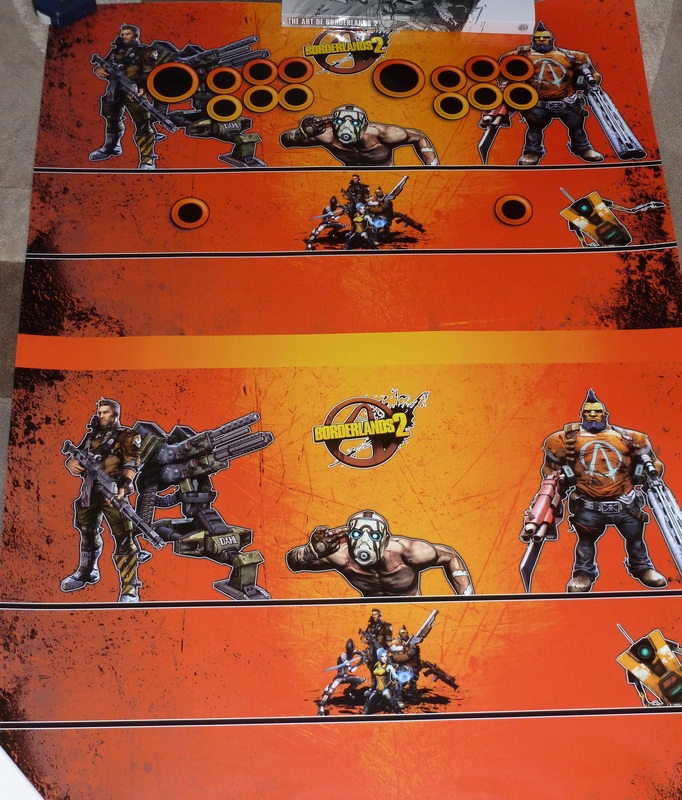
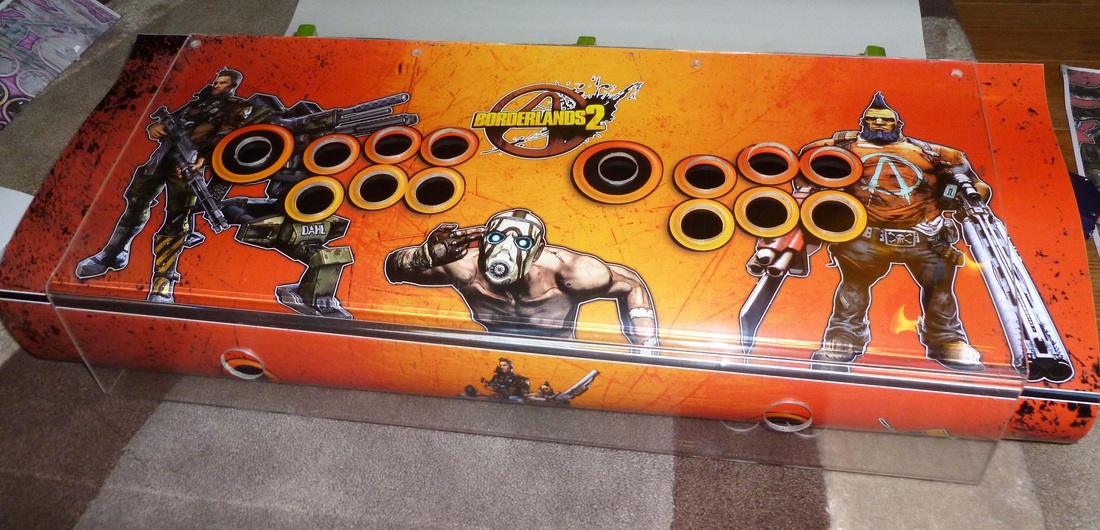
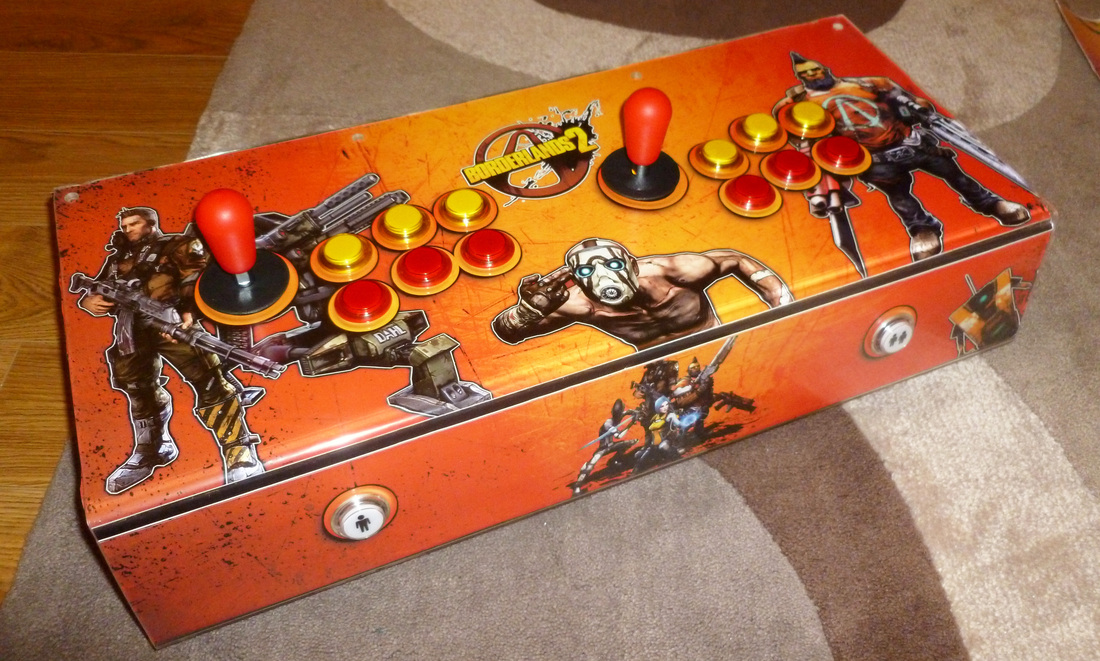
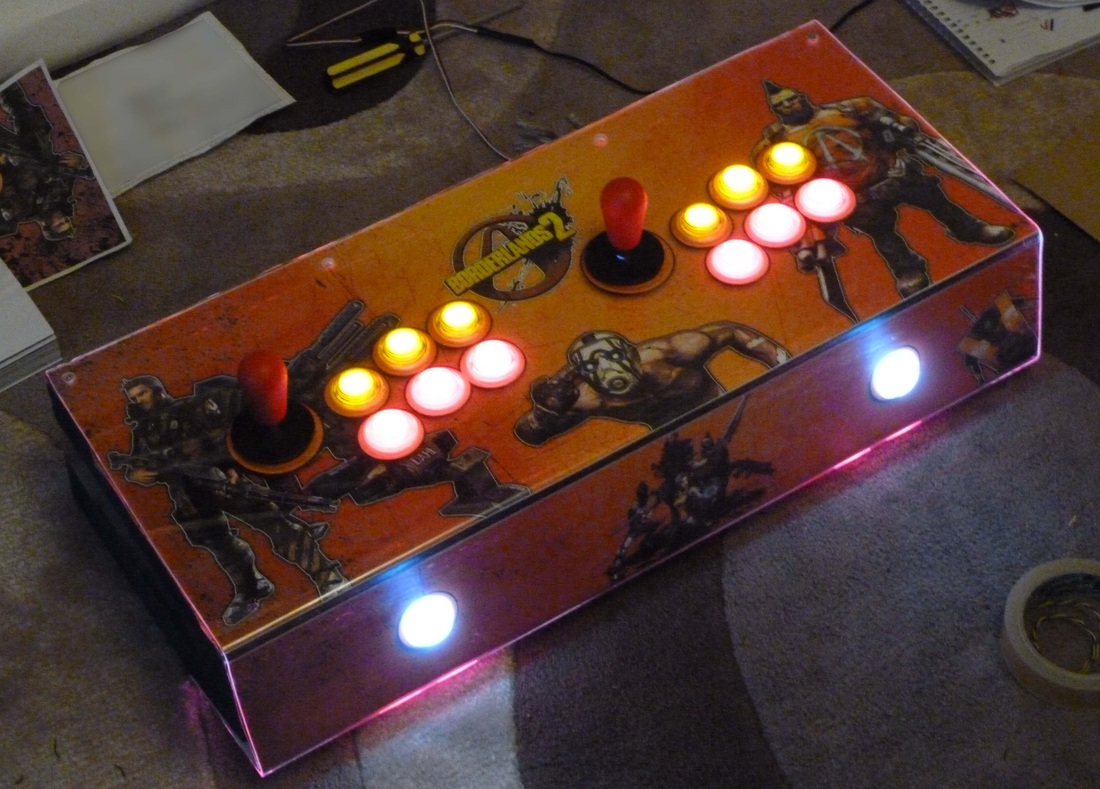
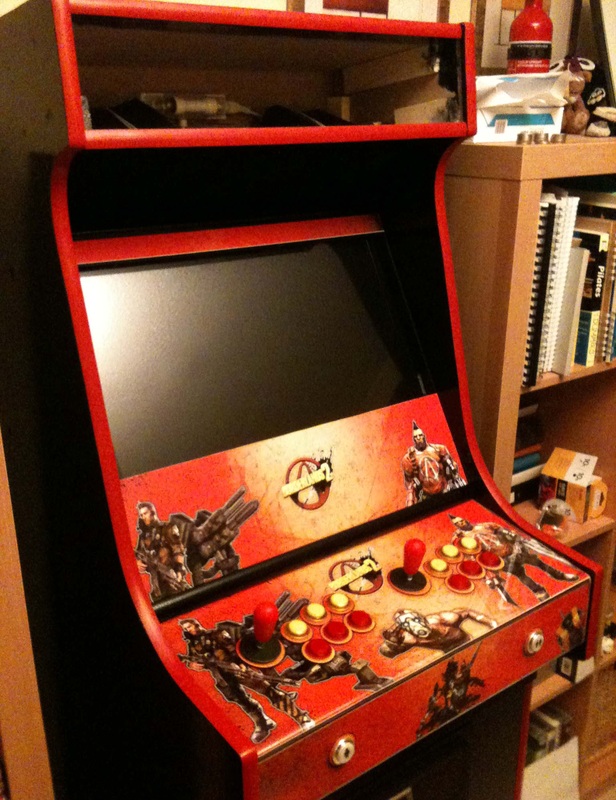
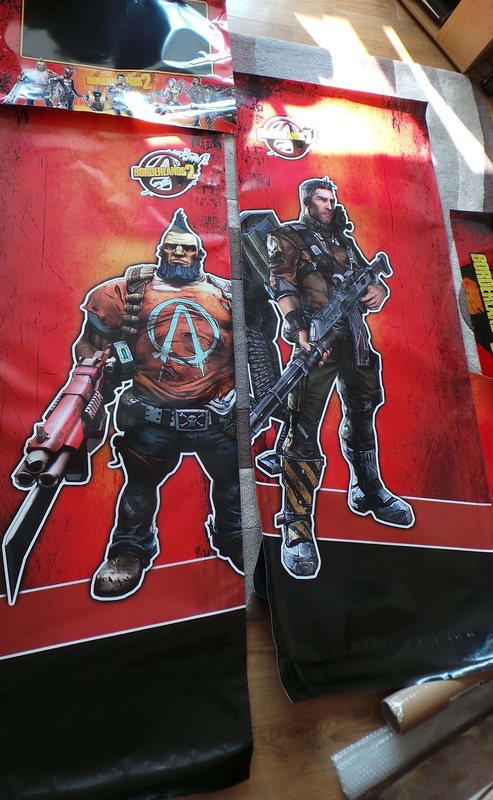
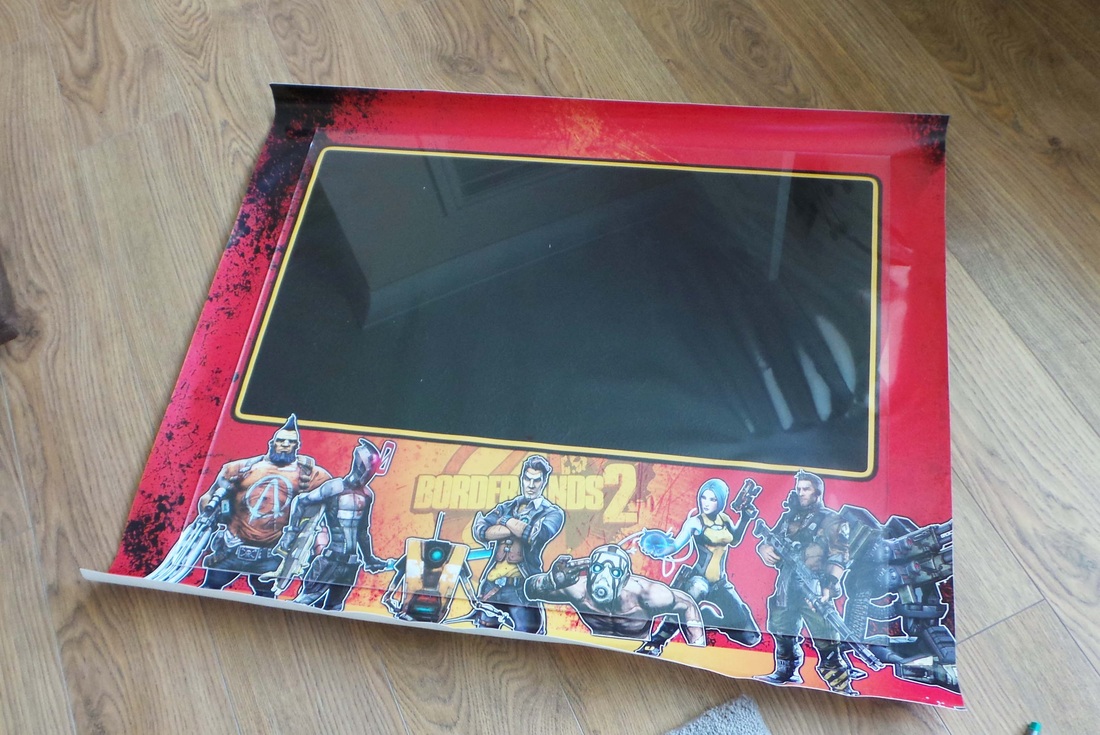
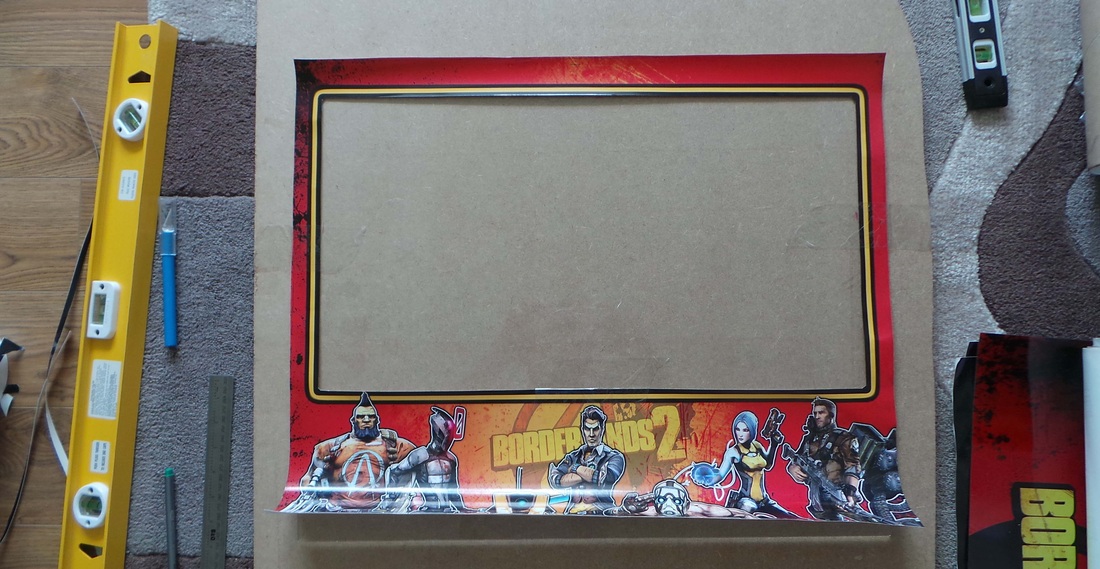
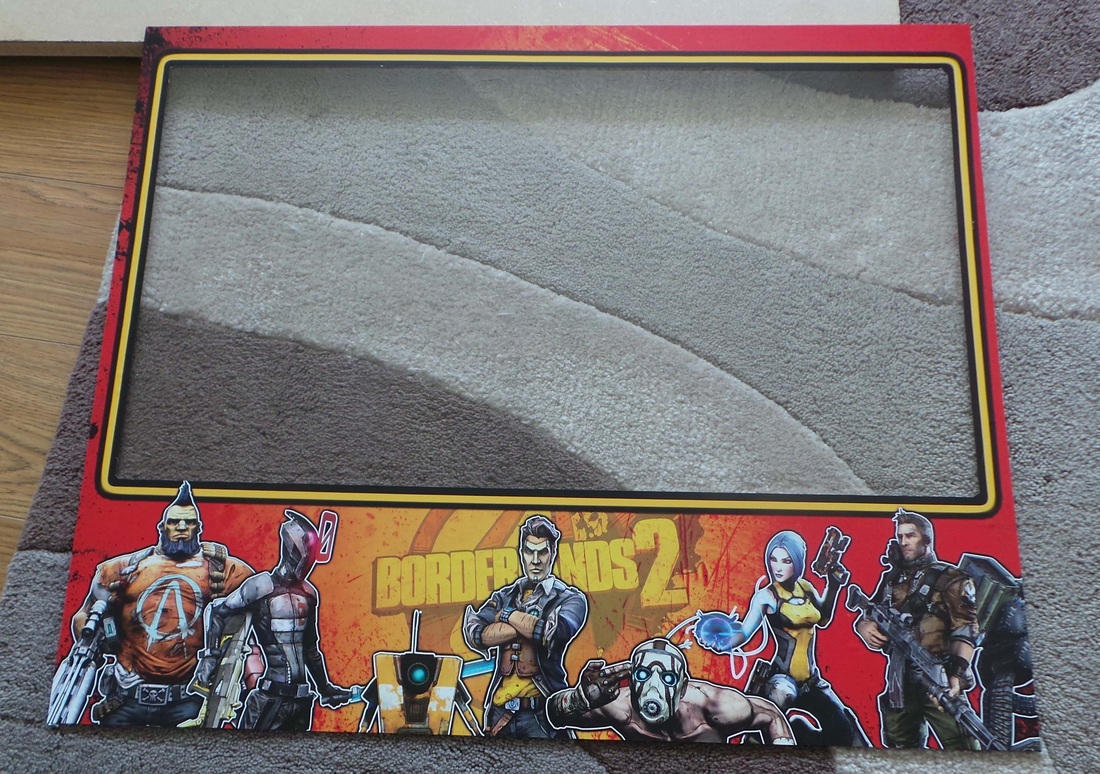
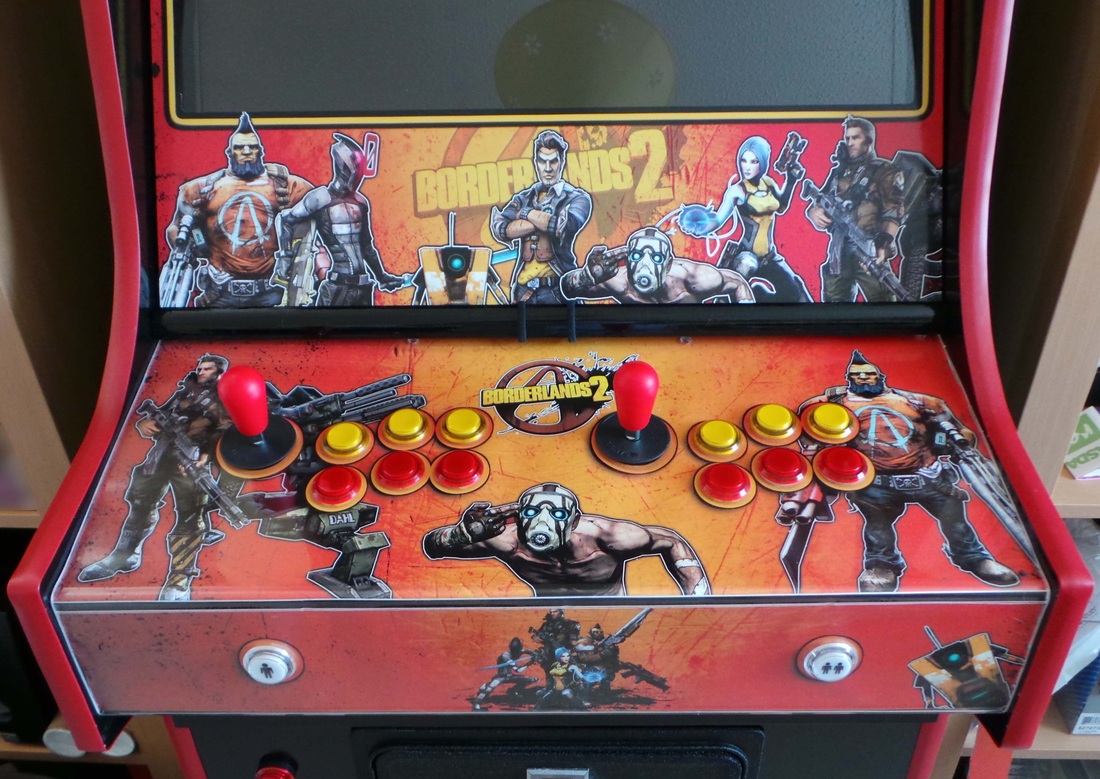
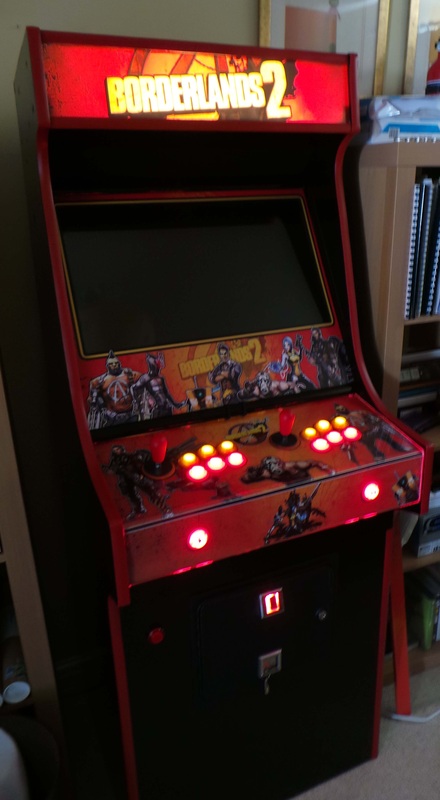
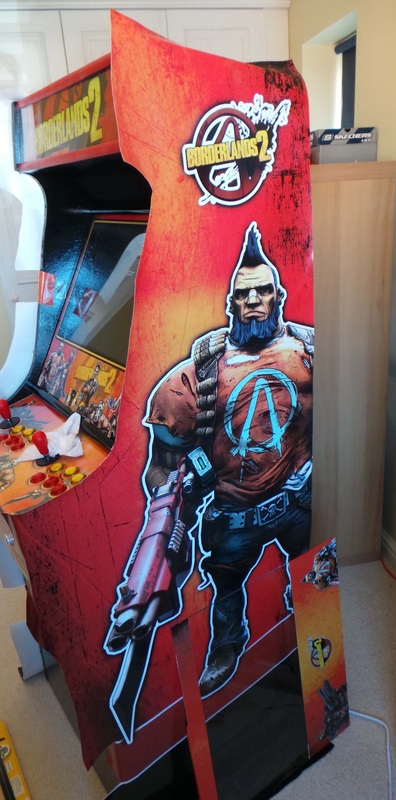
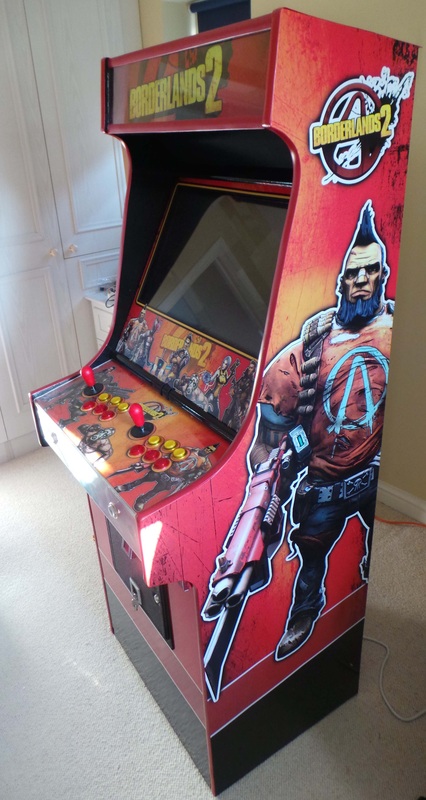
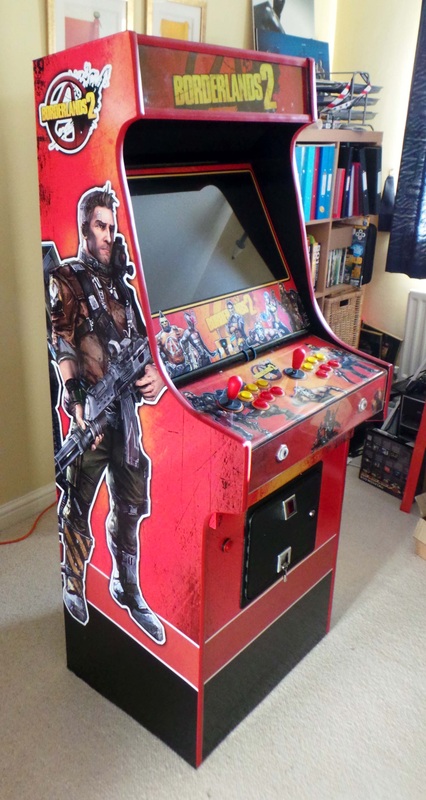
I also needed high rez art work. It came down to Battlefield 3 or Borderlands 2, two for my favourite Xbox games. In the end I went for the vibrant and striking art style of Borderlands, it seemed a perfect fit for an arcade machine.
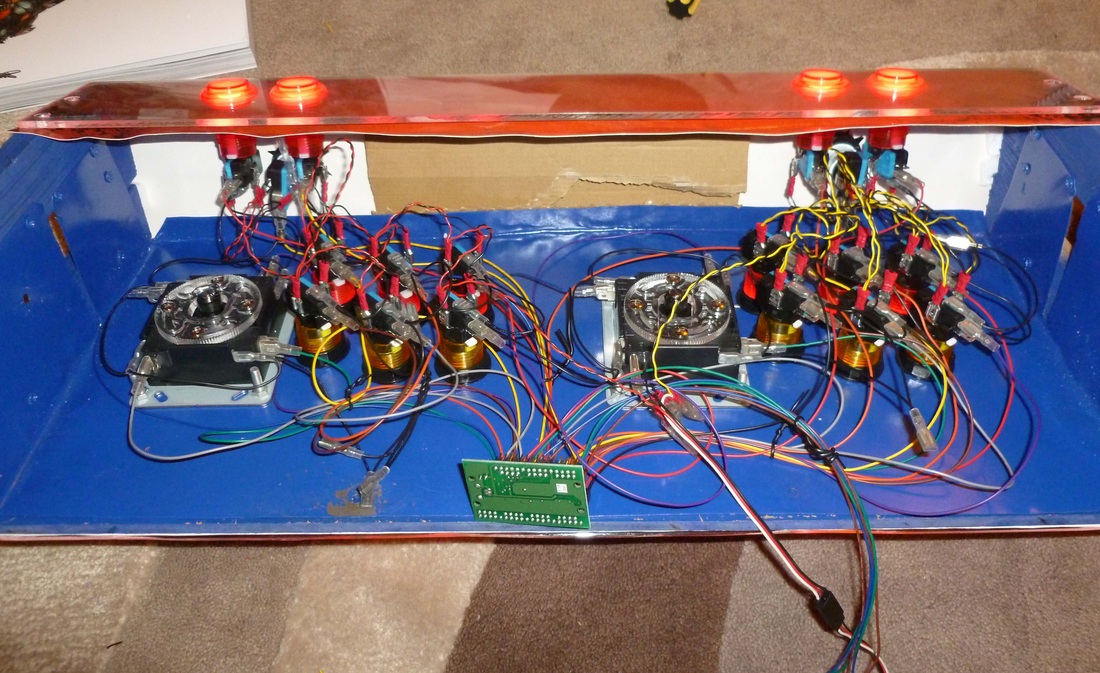
You can also see the mini PAC circuit board in the middle.
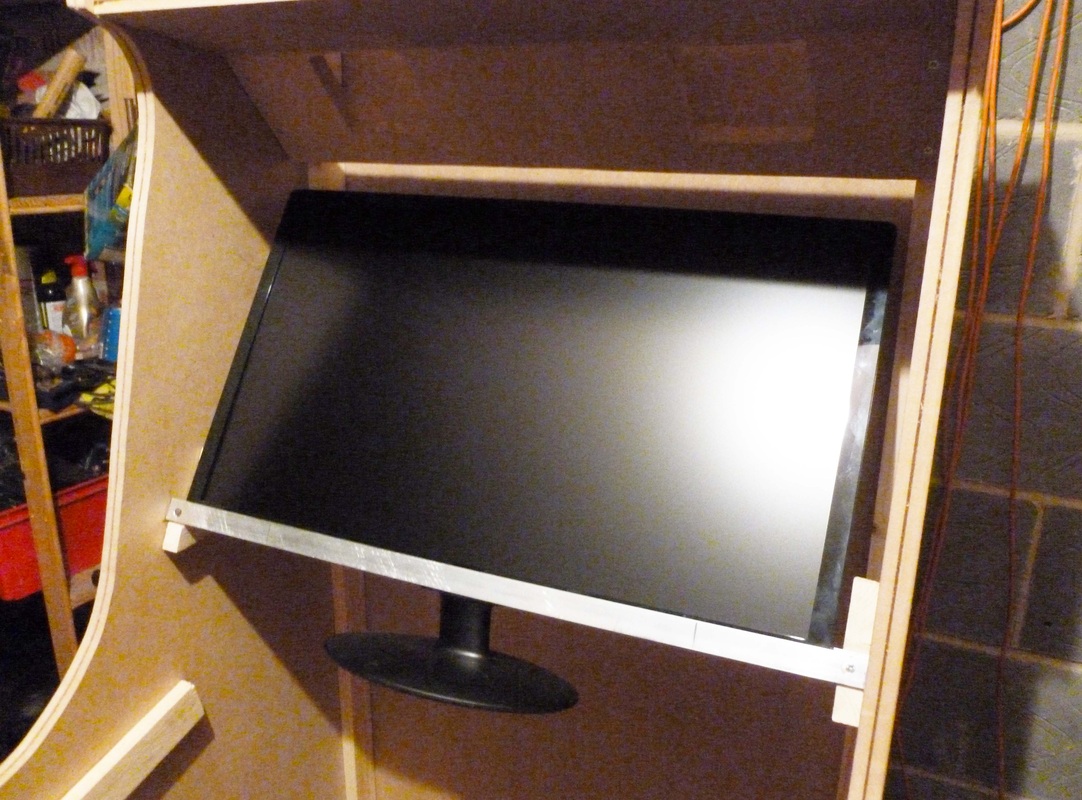
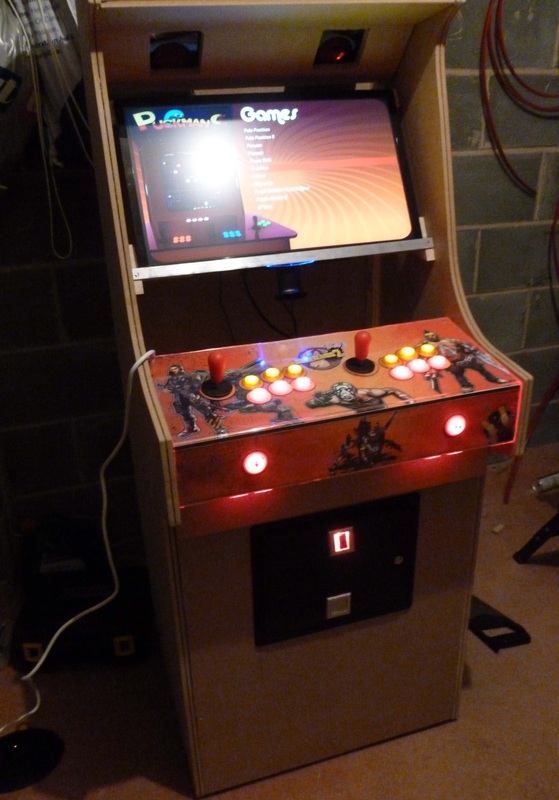
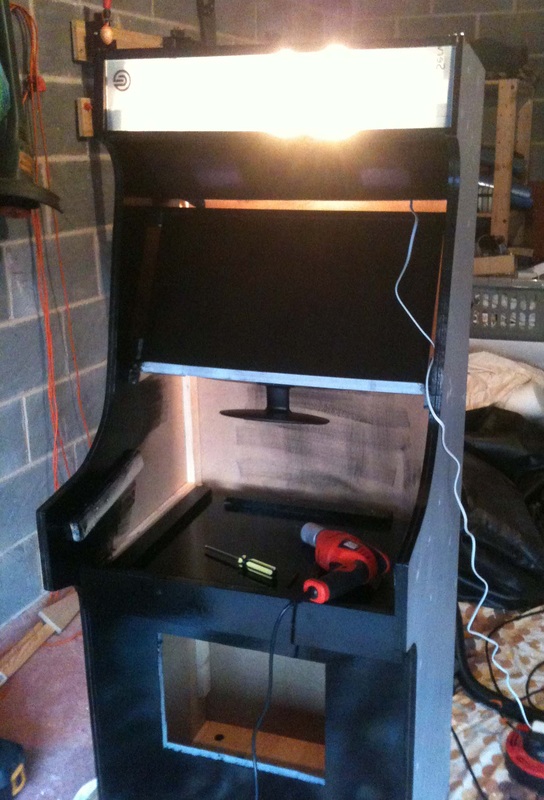
The internal width of the cabinet is 600mm and the full width of the monitor is 570mm, so it's a great fit.
I needed to invent a way to mount it.
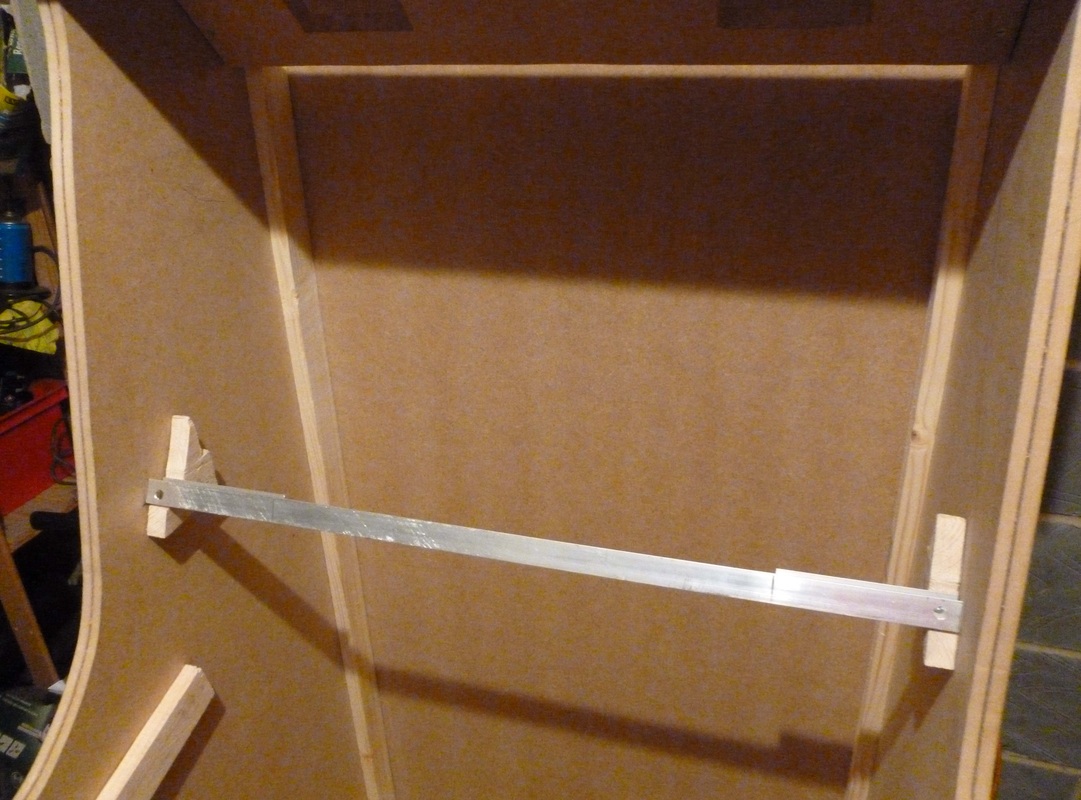
The TV is pretty thin, so I used a U shaped piece of aluminium to hold it in place.
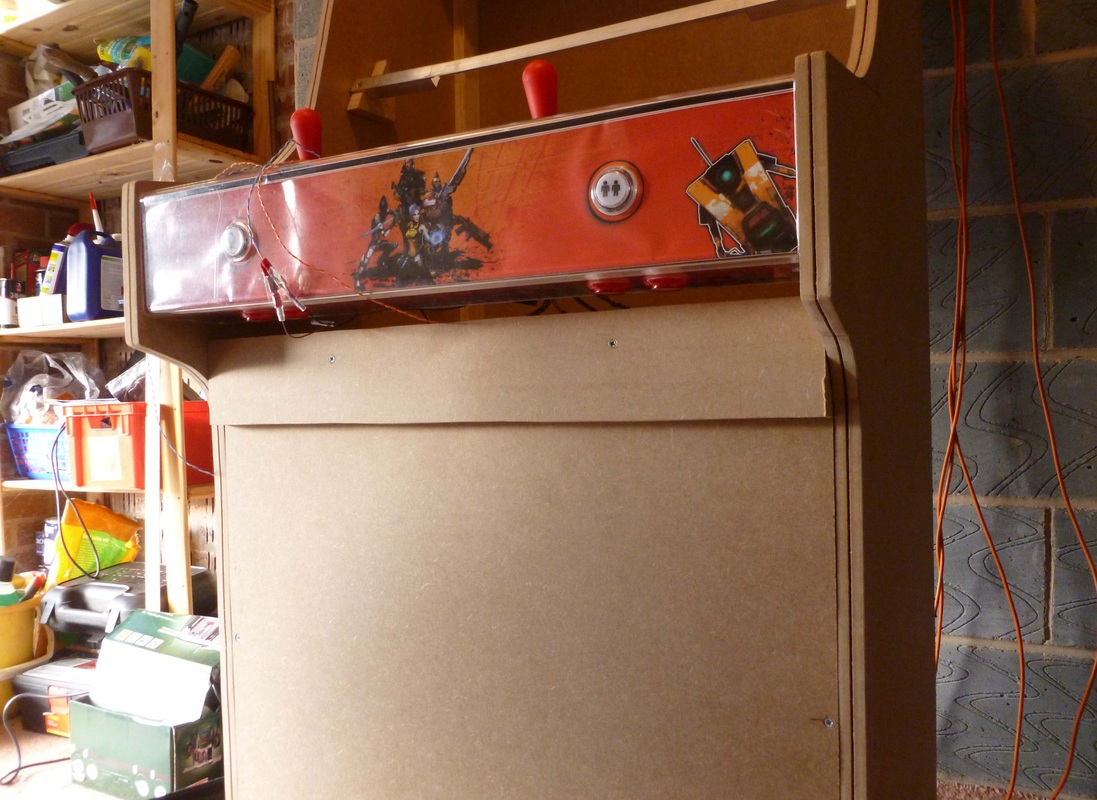
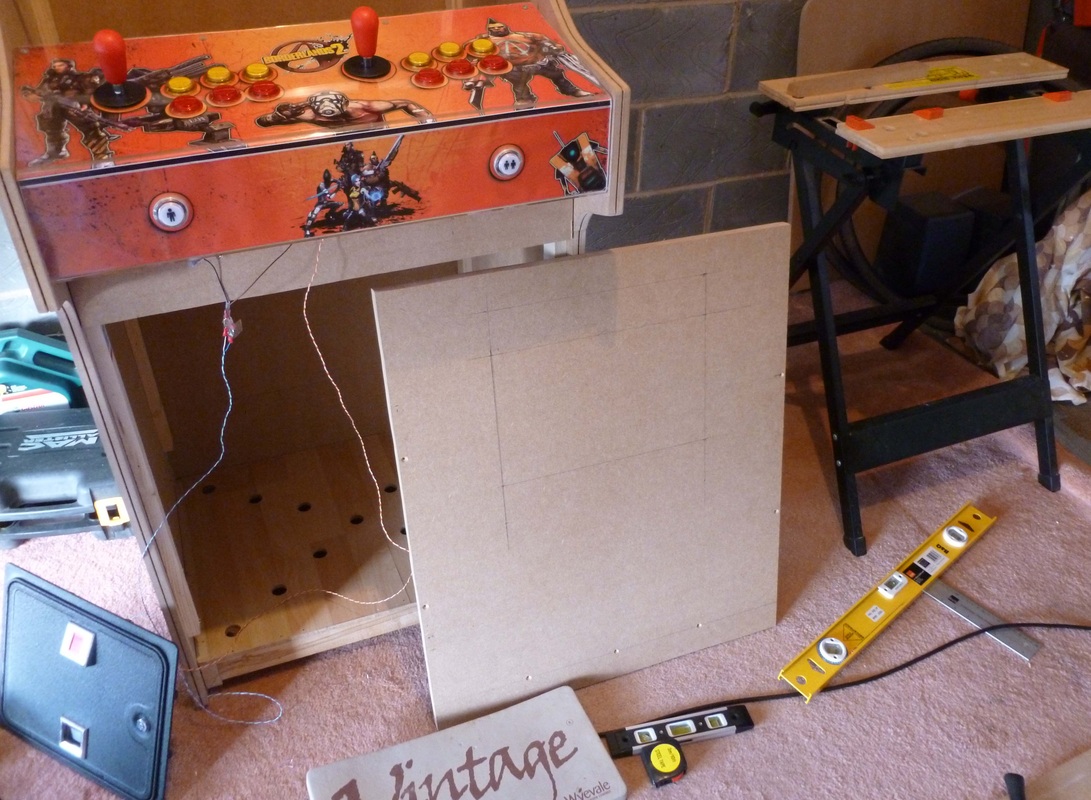
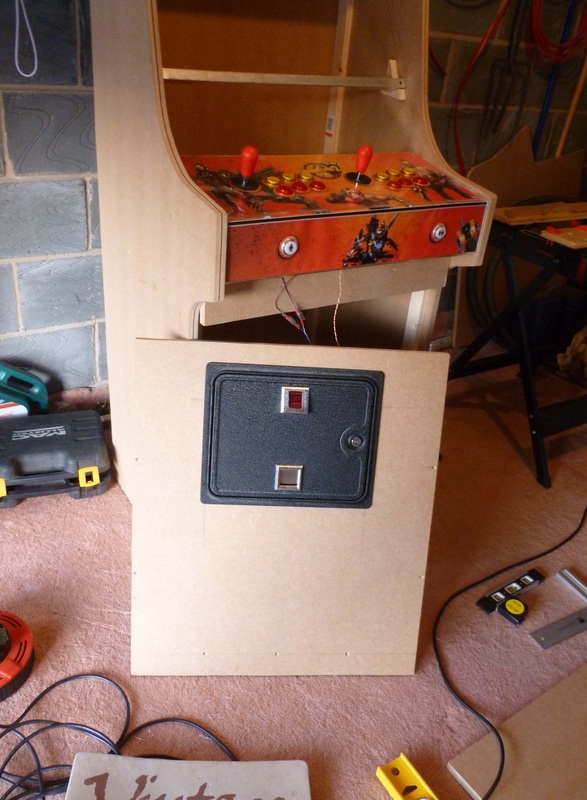
Notice the 2 twisted cables going to the coin door. One is power to the LED and the other is connected to a micro switch in the coin mech. This is connected to the mini PAC and is used to register when a coin is inserted.
I order a 5.1 gaming surround system for the audio. It cost around £55 and it sounds awesome!
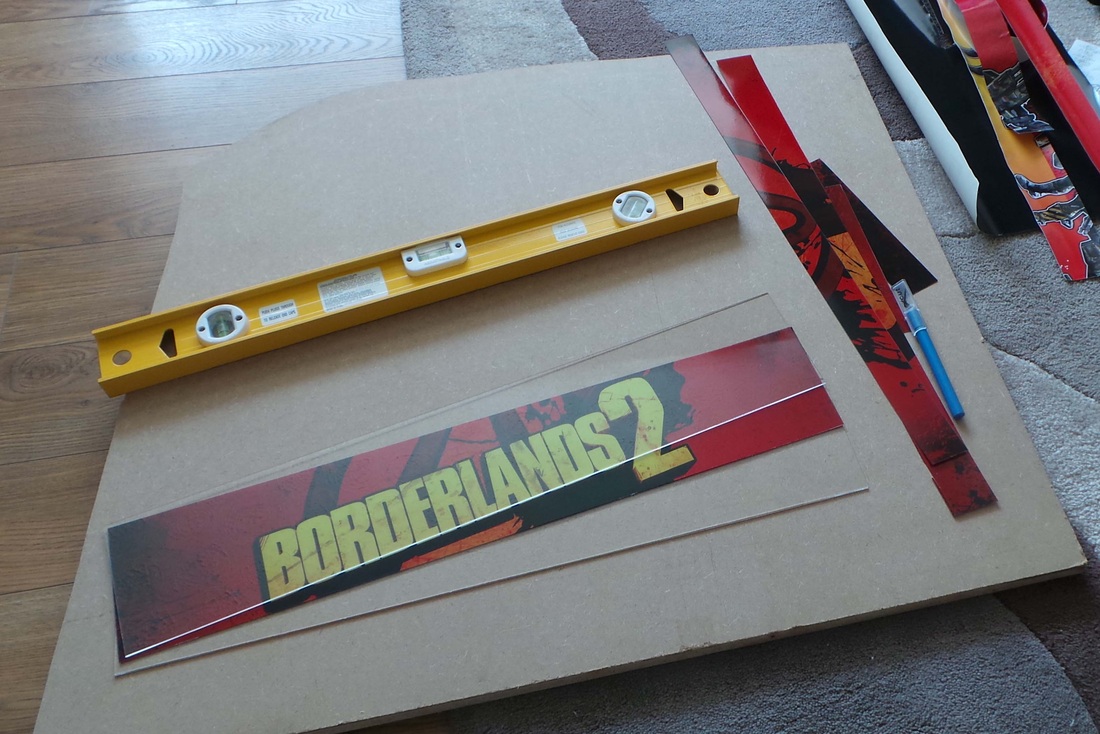
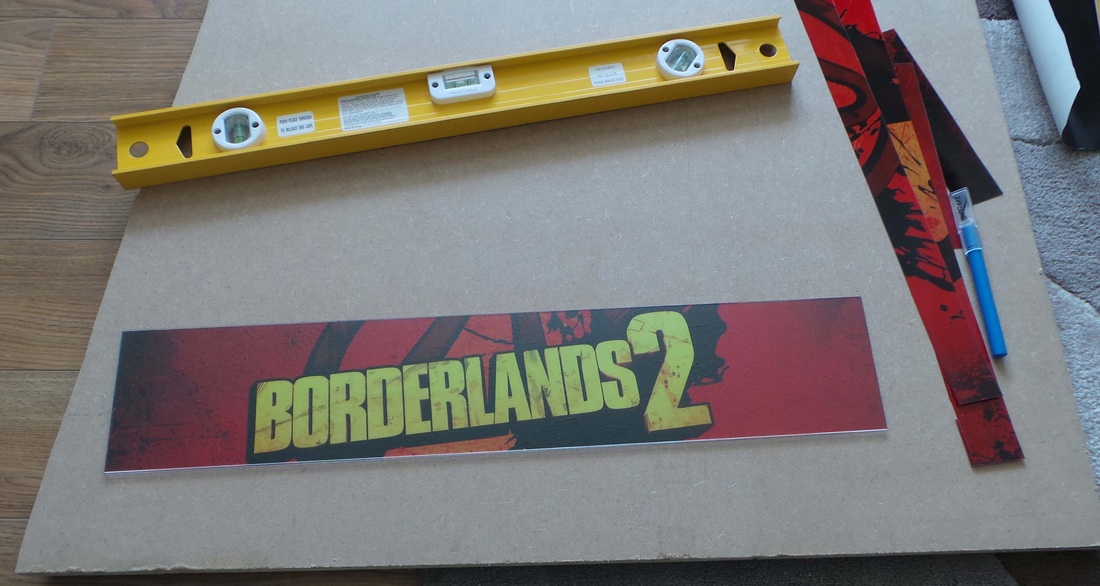
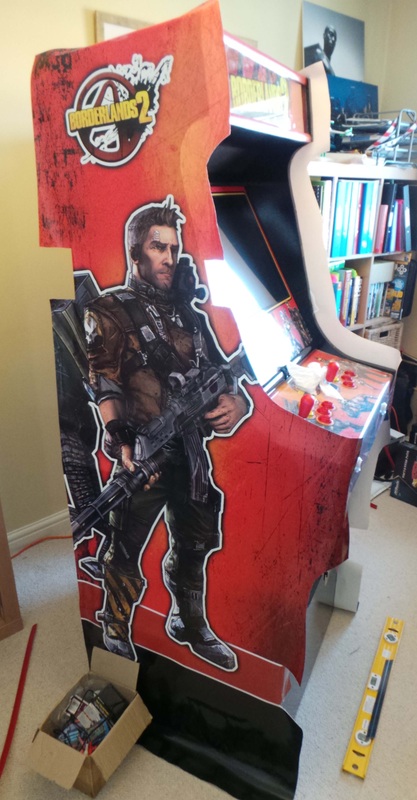
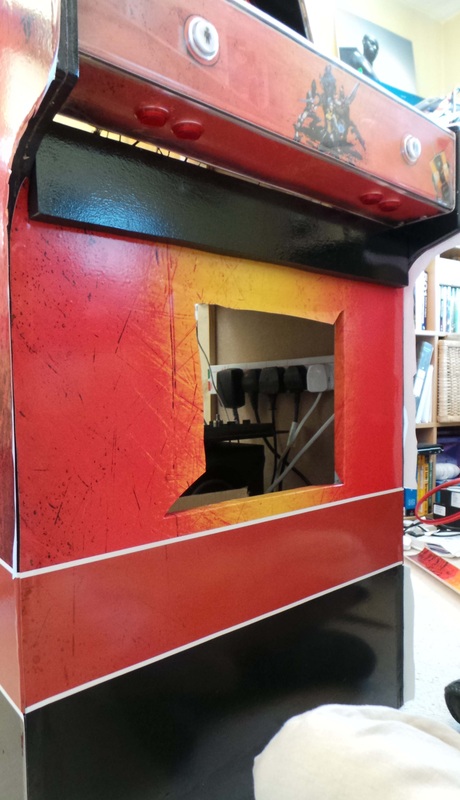
This required a lot of patience, measuring, checking and re-checking.
Here the artwork is trimmed and just tacked to the side.





 RSS Feed


